Deploying Apis From Jupyter Notebooks
Posted: Sep 20, 2020 by Alan Giles
![]()
Jupyter Notebooks are excellent for data exploration, data wrangling and building models using machine learning.
However once you have your clean dataset built the question that is often overlooked is — How do I deploy my data to an API to be used by my services or my clients applications?
In this post we will show you can use Sofodata to seamlessly create and deploy your panda dataframe to a secure API from Jupyter in minutes.
This post assumes some pre-existing knowledge of Jupyter, Python, Pandas and Docker.
Overview
The final API we want to build is a Country Code to City Name lookup. This means we want to query by country_code with
a value ES and have the API return a response containing the city_name of Spain as shown below.
        {
            "country_code": "ES",
            "city_name": "Spain"
        }
Step 1 - Signup
If you haven’t yet, signup for your free Sofodata account.
Step 2 - Create API Credentials
We then are going to use the Sofodata Management API to programmatically create and deploy a dataset to Sofodata. To use the API we must create an application and API credentials for authentication.
Navigate to the Sofodata applications page.
Click the Create button.
Enter a name of Jupyter Notebook with a description of Jupyter notebook deployments.
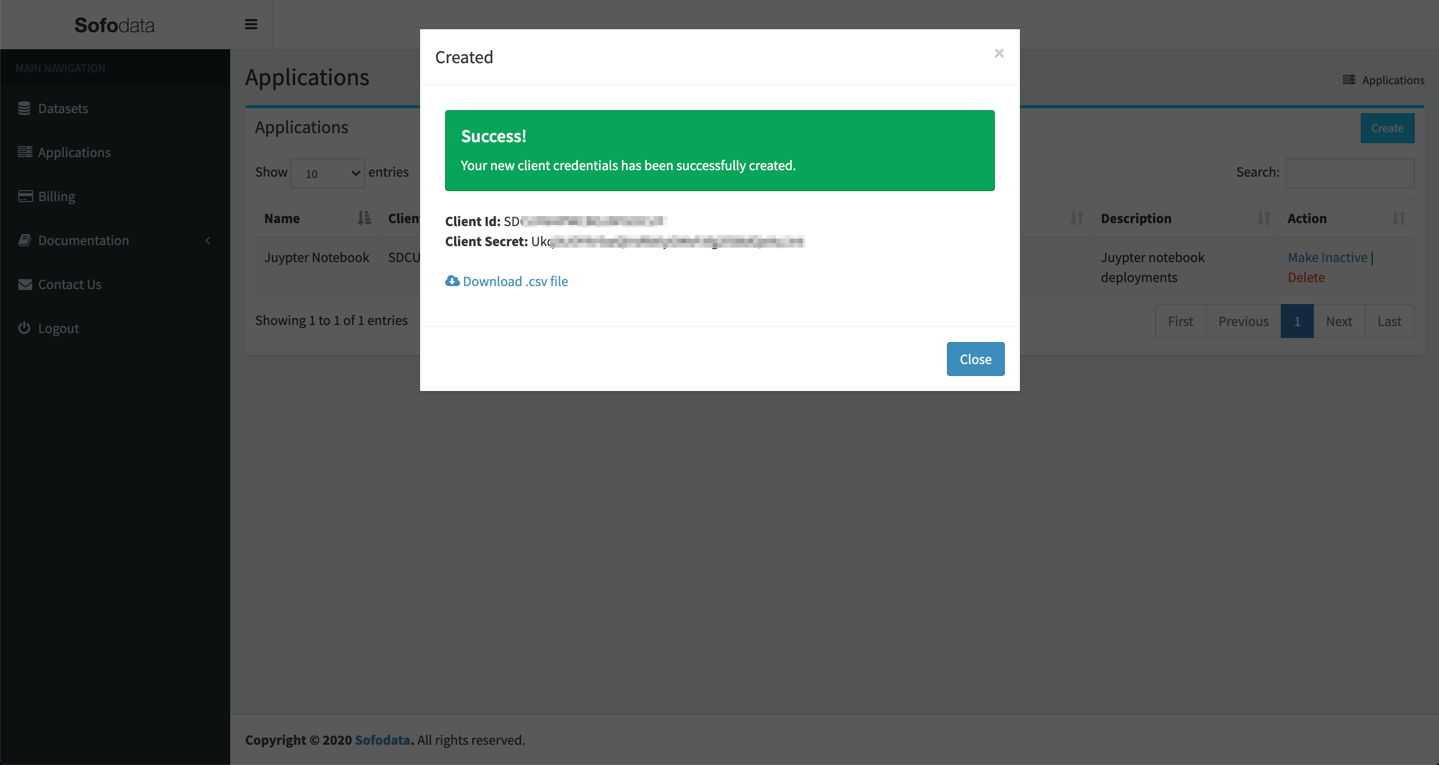
Click the Create button to create the application and to new generate credentials.

Copy the Client Id and Client Secret or click Download .csv file to download the credentials file.
Keep these safe and secure as we will need them later.
Step 3 - Download Sofodata Python Module
Download the Sofodata Python Module sofodata.py from Sofodata’s GitHub account to your local file system. This module provides functionality to showcase how you can provision a dataframe as a Secure RESTful API using the Sofodata Management API.
Step 4 - Start Jupyter
For simplicity, we are going to run a Jupyter Stack in Docker. Jupyter Docker Stacks are a set of ready-to-run Docker images containing Jupyter applications and interactive computing tools.
The particular notebook we are going to use is jupyter-scipy-notebook as it includes popular packages from the scientific Python ecosystem.
Open up a terminal and execute the following docker command to start a Notebook on port 8888. If this is your
first time starting the image it may take a while to download it from dockerhub.
docker run -p 8888:8888 jupyter/scipy-notebook Once started, you should see something like the following from the terminal.
Executing the command: jupyter notebook
[C 2201:02.745 NotebookApp]

    To access the notebook, open this file in a browser:
        file:///home/jovyan/.local/share/jupyter/runtime/nbserver-6-open.html
    Or copy and paste one of these URLs:
        http://ab218a674c93:8888/?token=c973b8c48c6cfac254ea4c0bf245b09e33a84017c4302f60
     or http://127.0.0.1:8888/?token=c973b8c48c6cfac254ea4c0bf245b09e33a84017c4302f60
Step 5 - Open Jupyter
Copy or paste on the url http://127.0.0.1:8888/?token=c973b8c48c6cfac254ea4c0bf245b09e33a84017c4302f60 from the terminal to open Jupyter in the browser.
Step 6 - Sofodata Python Module
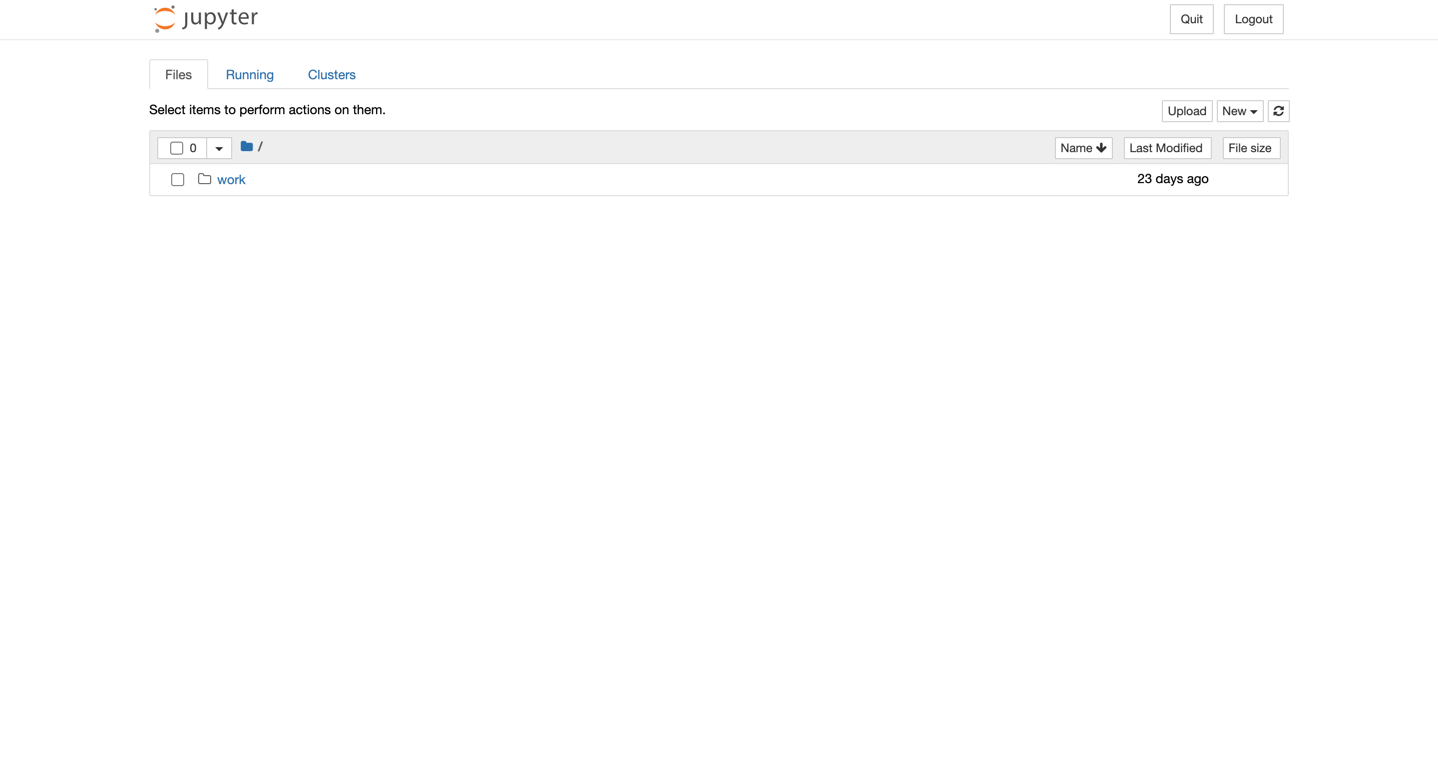
We want to upload the file sofodata.py from your local machine to the docker container. To do so,
click the Upload button and select the file you downloaded in Step 2 from your local file system.
Click the blue Upload button to perform the actual upload.
Verify the file name is sofodata.py.
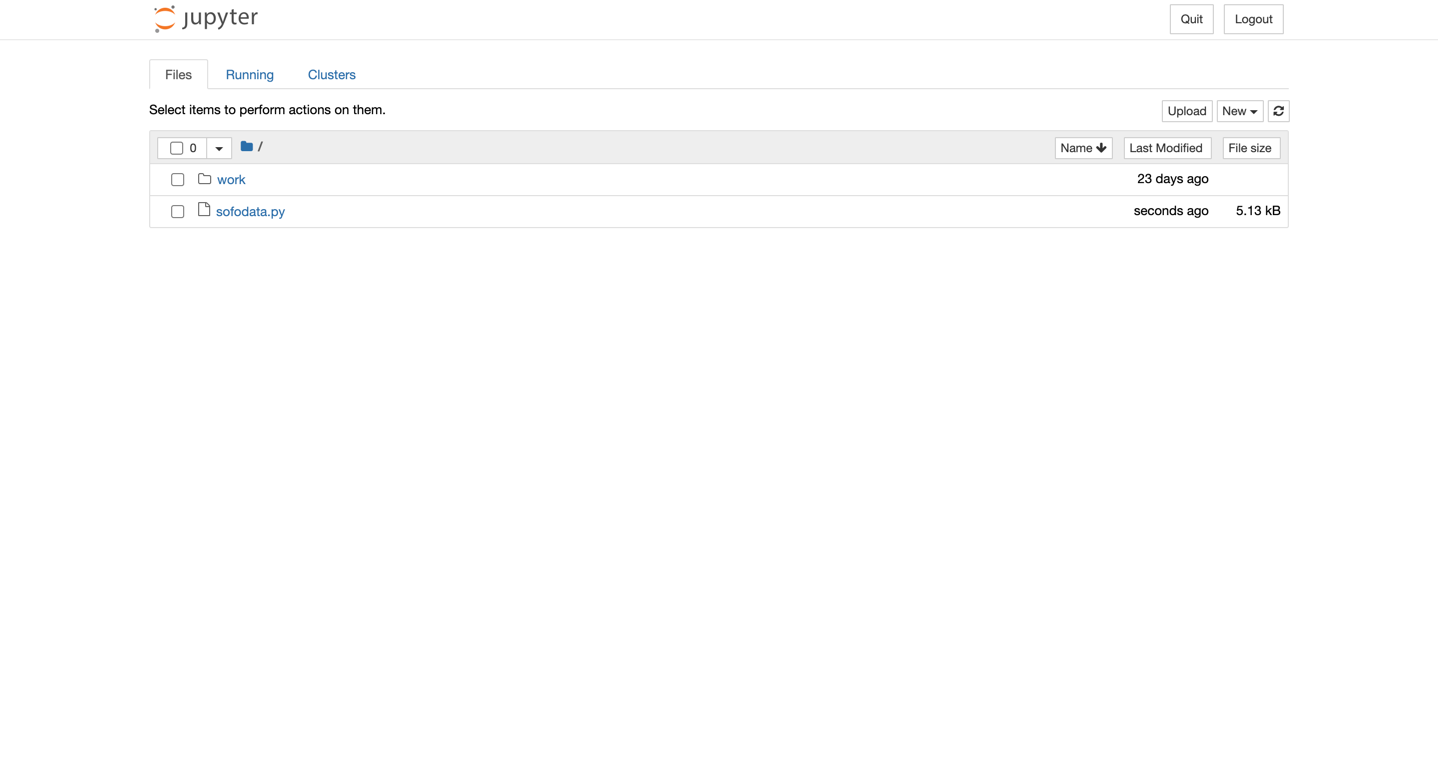
Step 7 - Create Jupyter Notebook
Next we are going to create a new Python 3 notebook.
Click File, then click Python 3
Step 8 - Download Sample Data
Now we have our Python notebook ready, we are going to programmatically load the country-codes.csv
from Sofodata’s GitHub account into a dataframe using pandas.
import pandas as pd
import sofodata

df = pd.read_csv("https://raw.githubusercontent.com/sofodata/dataset-examples/master/country-codes.csv")
Step 9 - Data Preparation
Sofodata indexes the first column, therefore we want to prepare the dataframe to ensure the columns are renamed and that the country_code column is first, followed by city_name
# Perform some renaming and reordering of columns
transformedDf = df[['Code', 'Name']].rename(columns = {'Code': 'country_code', 'Name': 'city_name'})
transformedDf
Step 10 - Create API
We then are going to call the sofodata.to_api function which performs the magic, to upload the dataframe to Sododata and create a new API.
Replace the client_id and the client_secret values with the ones we generated earlier.
rs = sofodata.to_api(
client_id='{YOUR_CLIENT_ID}',
client_secret='{YOUR_CLIENT_SECRET}',
dataframe=transformedDf,
name='Country Codes',
description='Country codes uploaded from Jupyter')
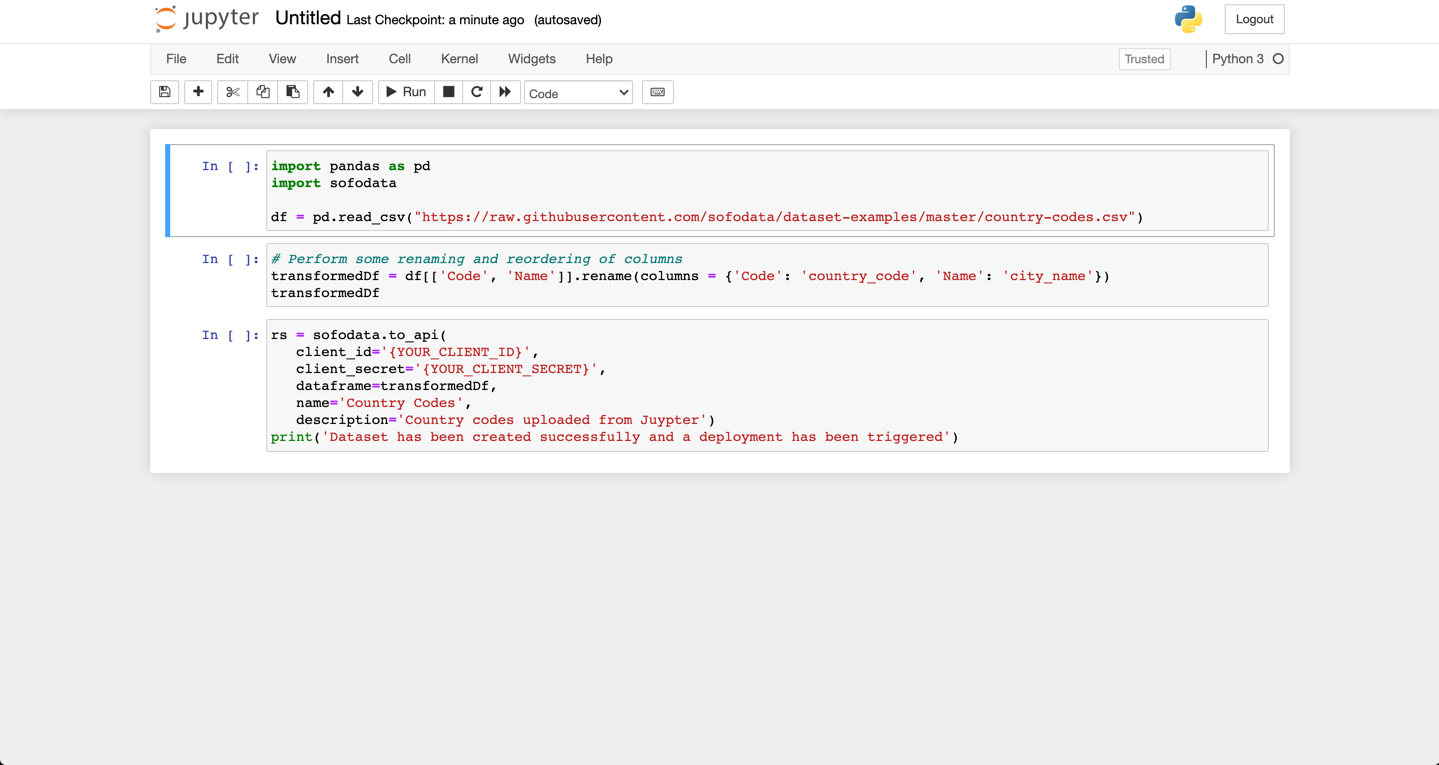
print('Dataset has been created successfully, and a deployment has been triggered')Step 10 - Complete Notebook
The complete notebook should look like the following, with {YOUR_CLIENT_ID} and {YOUR_CLIENT_SECRET} replaced with your values
from Step 2.
Click Run for each of the paragraphs.
Step 11 - Check Status In Sofodata
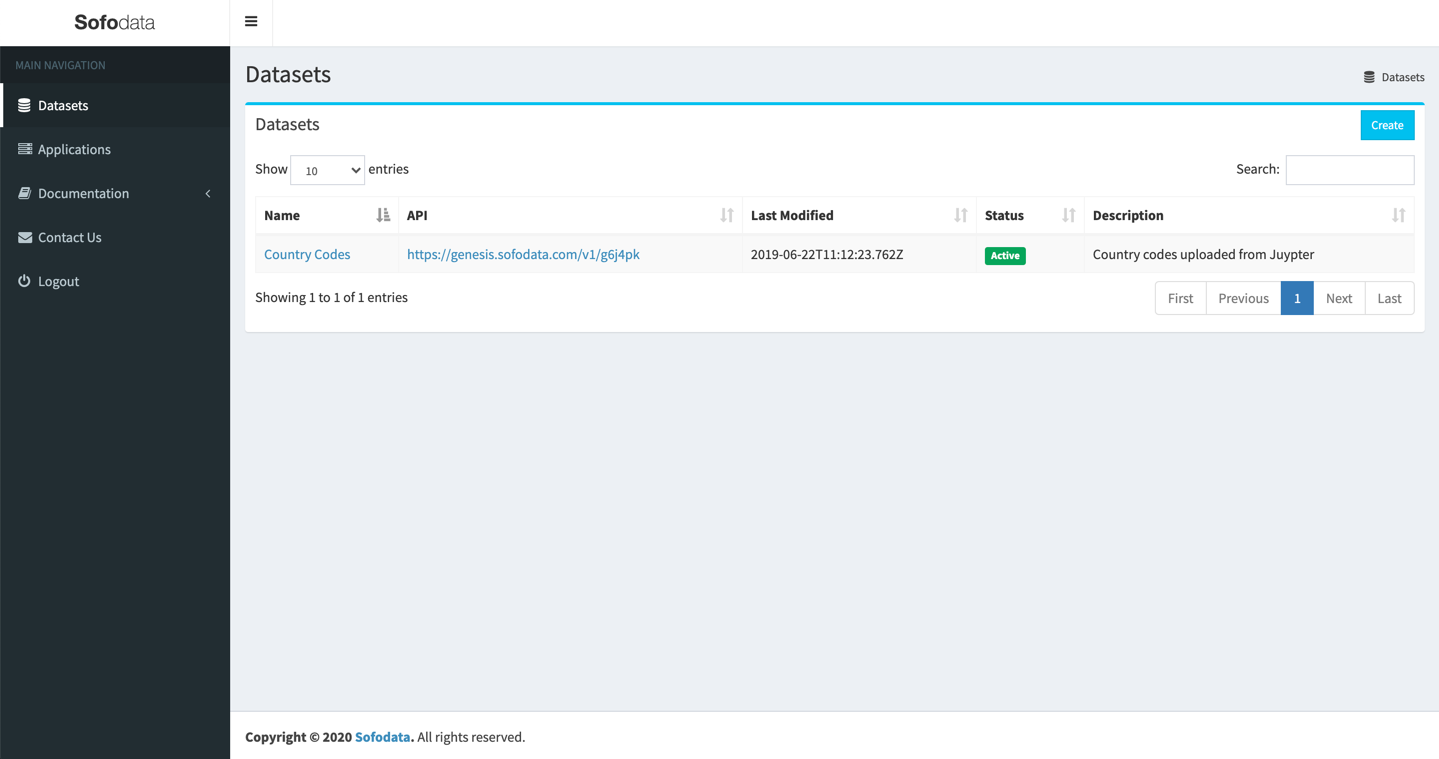
Awesome!!. Your new API has now successfully been created and triggered for deployment.
Navigate to Sofodata datasets page.
You will see your newly created dataset called Country Codes with a description of Country codes uploaded from Jupyter.
Once the status is Active the deployment has completed and you can start using it.
If the status is Pending, refresh the page until it becomes Active.
Step 12 - Test API
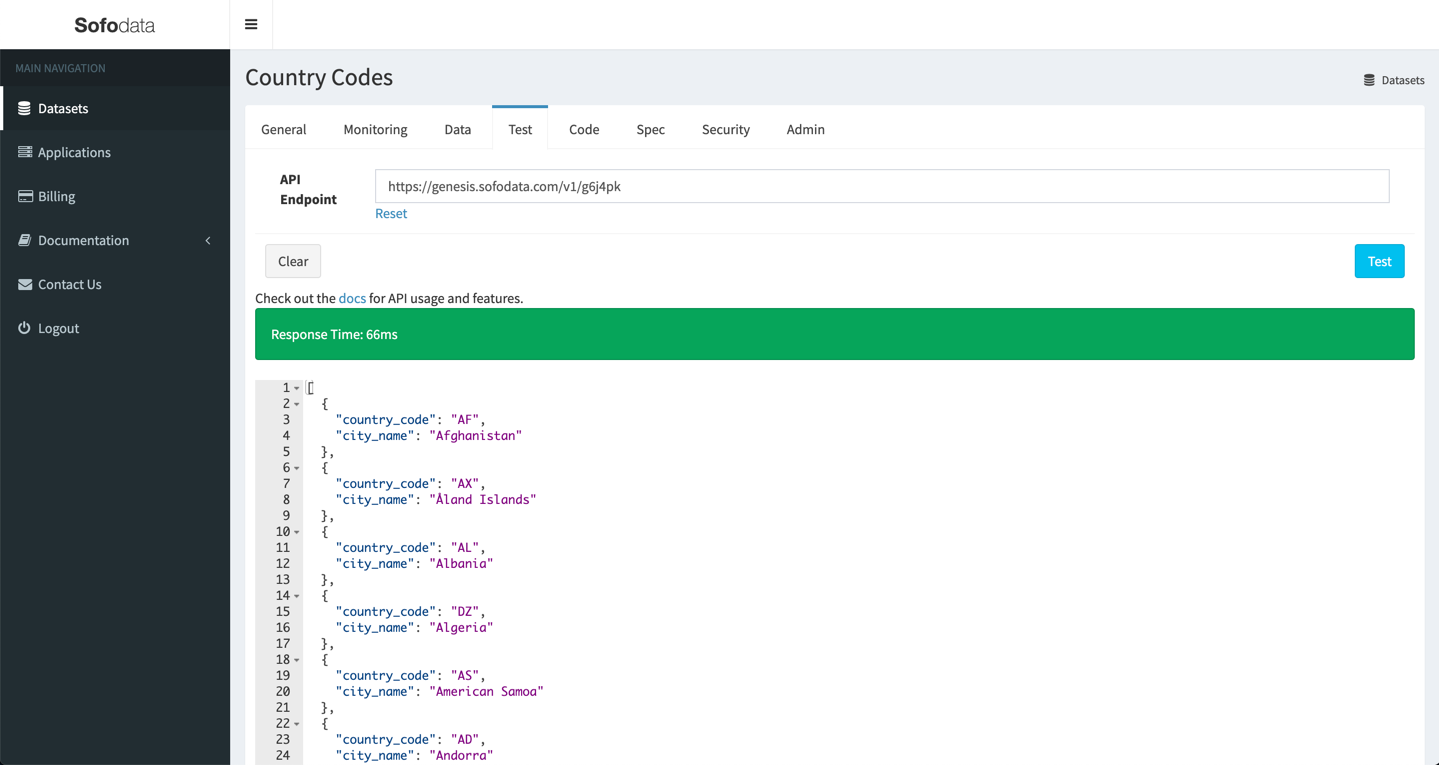
Every dataset that you deploy comes with a testing page, that enables you to run interactive queries against your dataset’s API.
Click the name of the Country Codes dataset to open up it up.
Click the Test tab to open up the testing page.
Click the Test button.
A response from the API should be received as shown below.
Step 8 - Query Parameters
The datasets API supports a number of query parameters that’s allows filtering results by column values or limiting the number of results.
In this example we want to filter results by the column country_code, therefore the url should look something like https://genesis.sofodata.com/v1/g6j4pk?country_code=ES.
Modify the url and append ?country_code=ES to it and click the Test button again.
The API response should be as we outlined in the overview.

Summary
Congratulations!!!
In the post above you learned how to start a Jupyter Docker Stacks using Docker, create a new Python3 notebook, perform some data wrangling using Python Pandas and finally how to use Sofodata to provision your dataframe output as a Secure RESTful API in minutes, letting you get back to building cool stuff.
Get Started Now